The Ultimate Havasu Falls Backpacking Guide: Everything You Need to Know for Your Trip to Havasupai
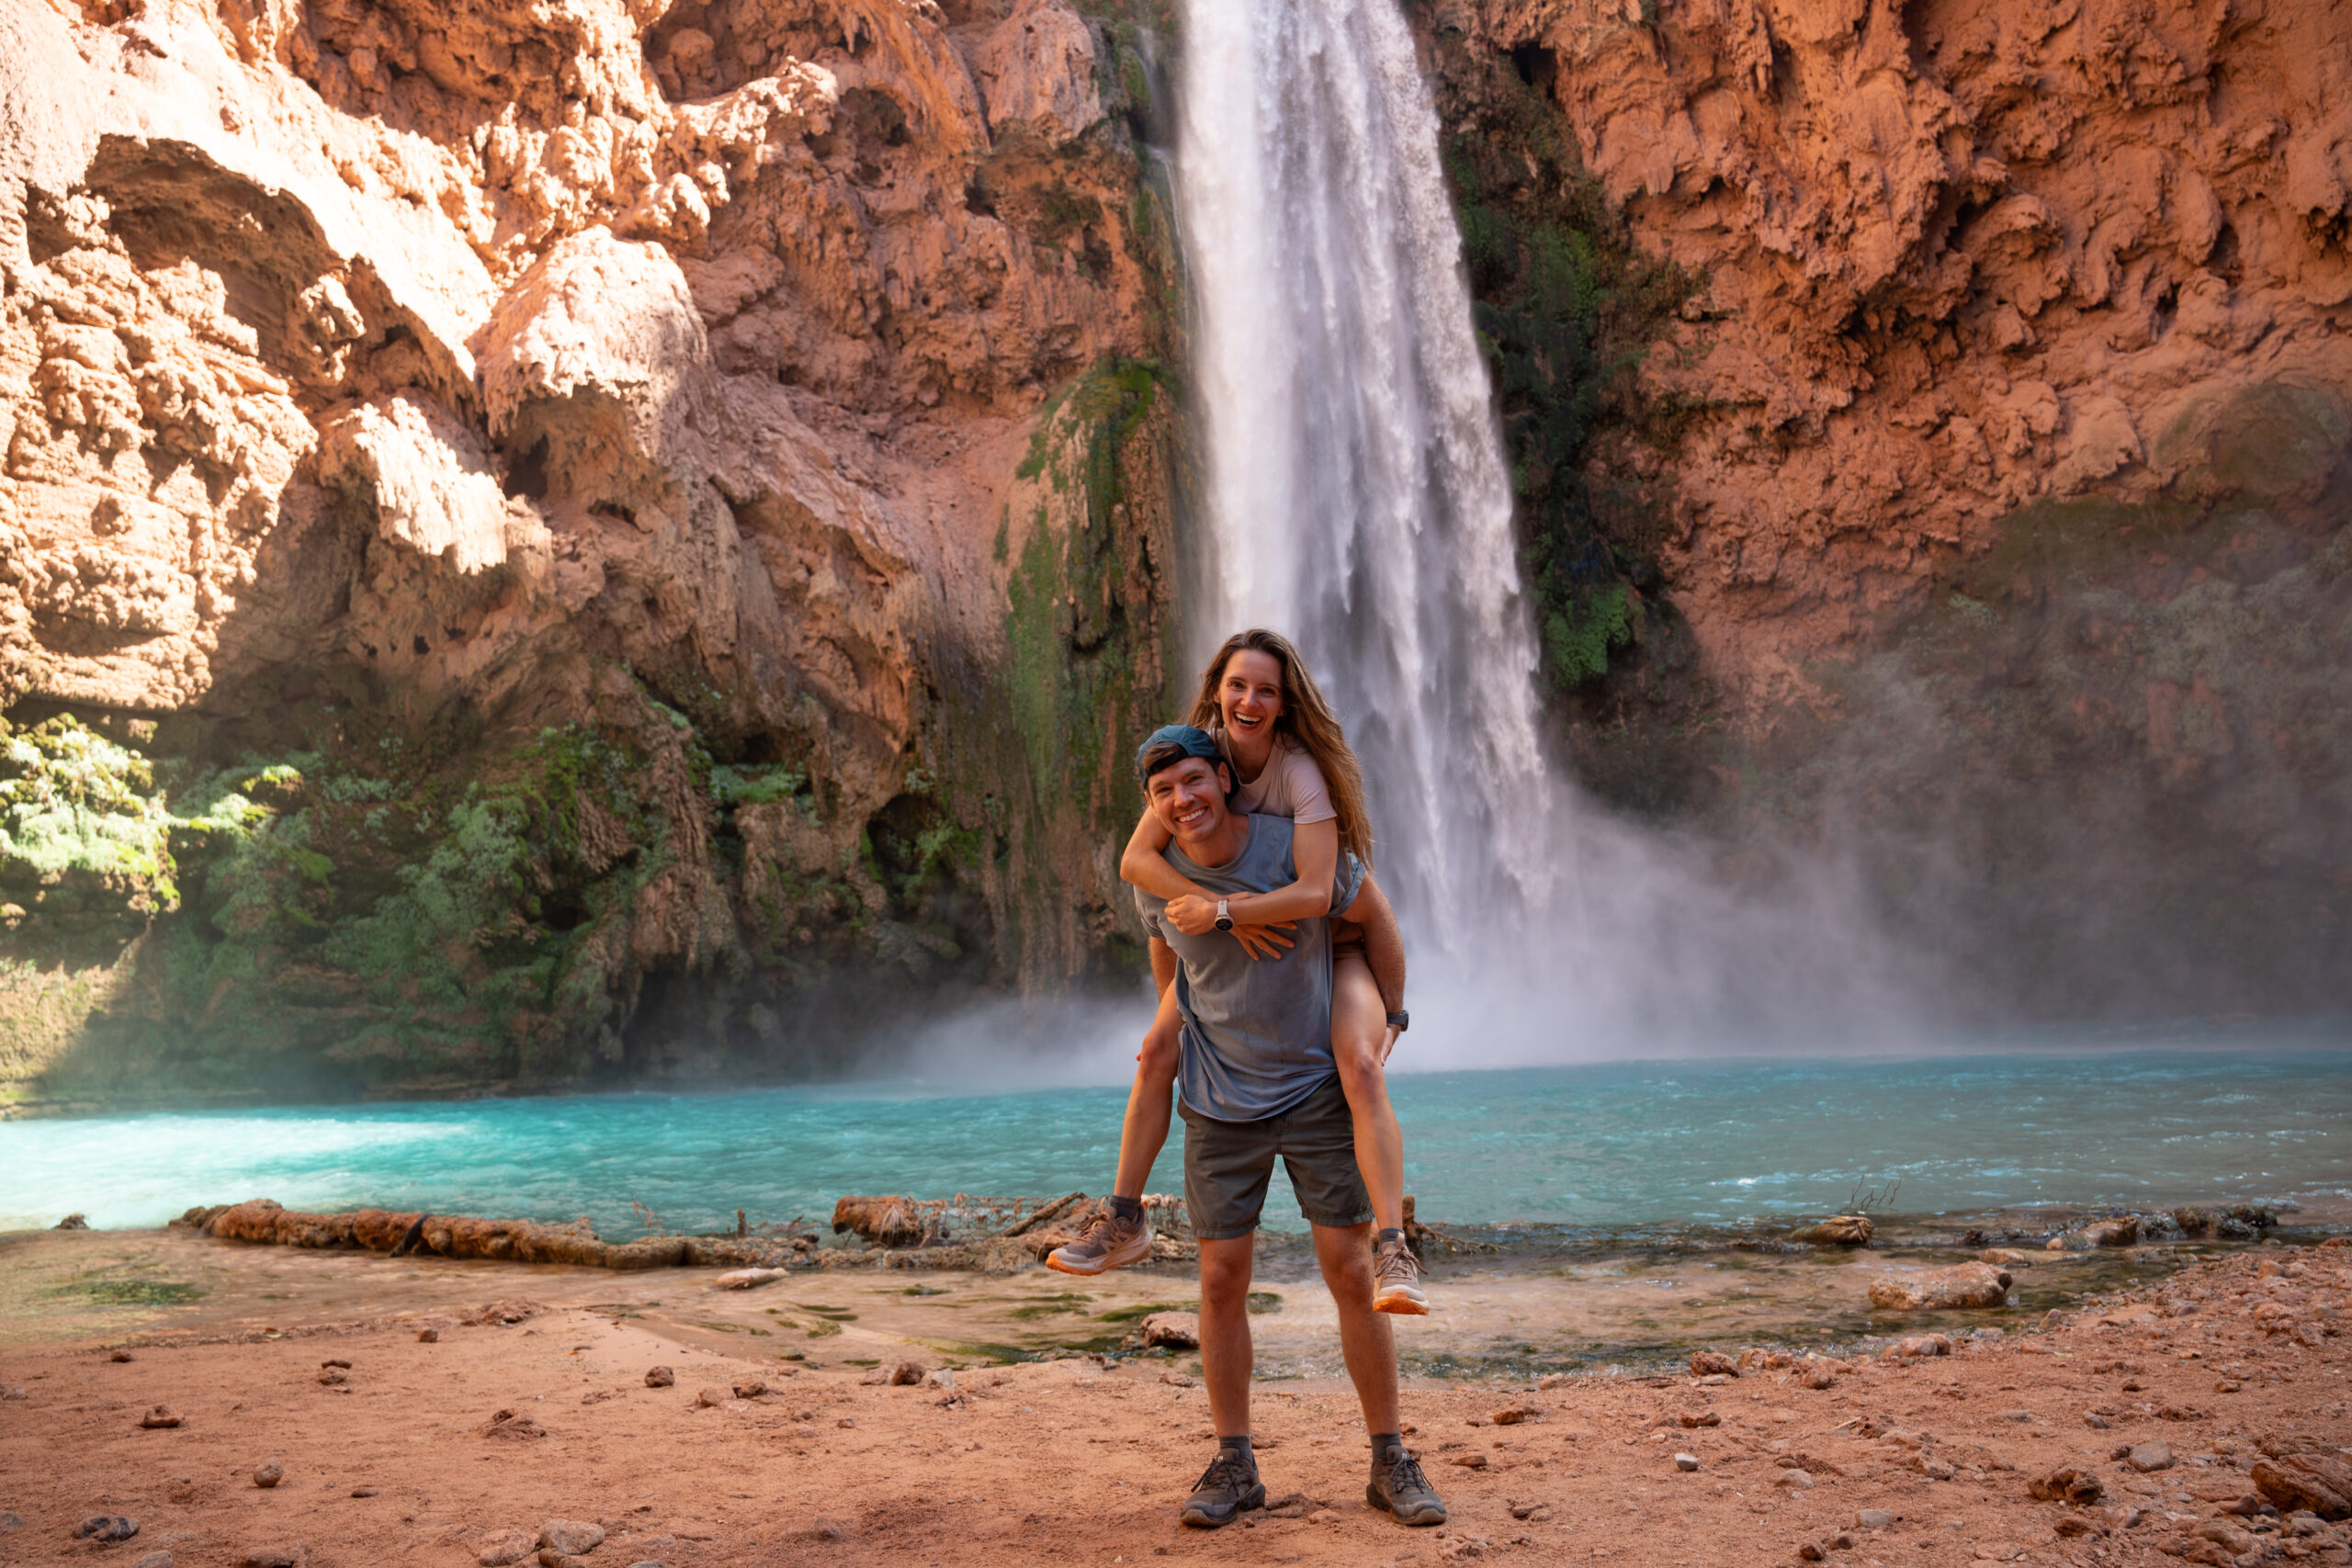
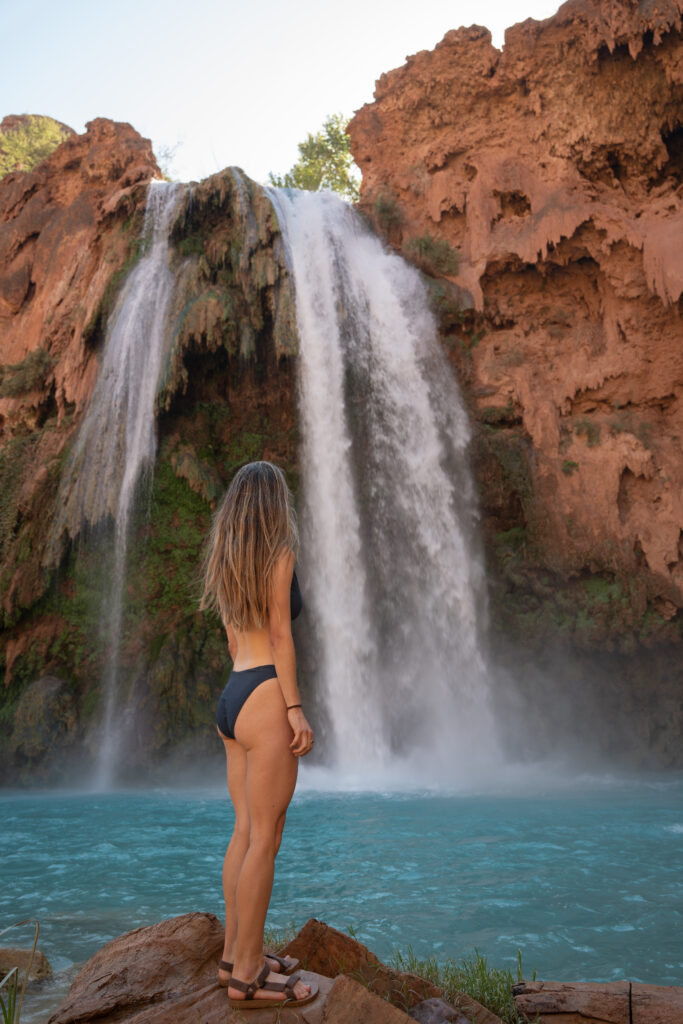
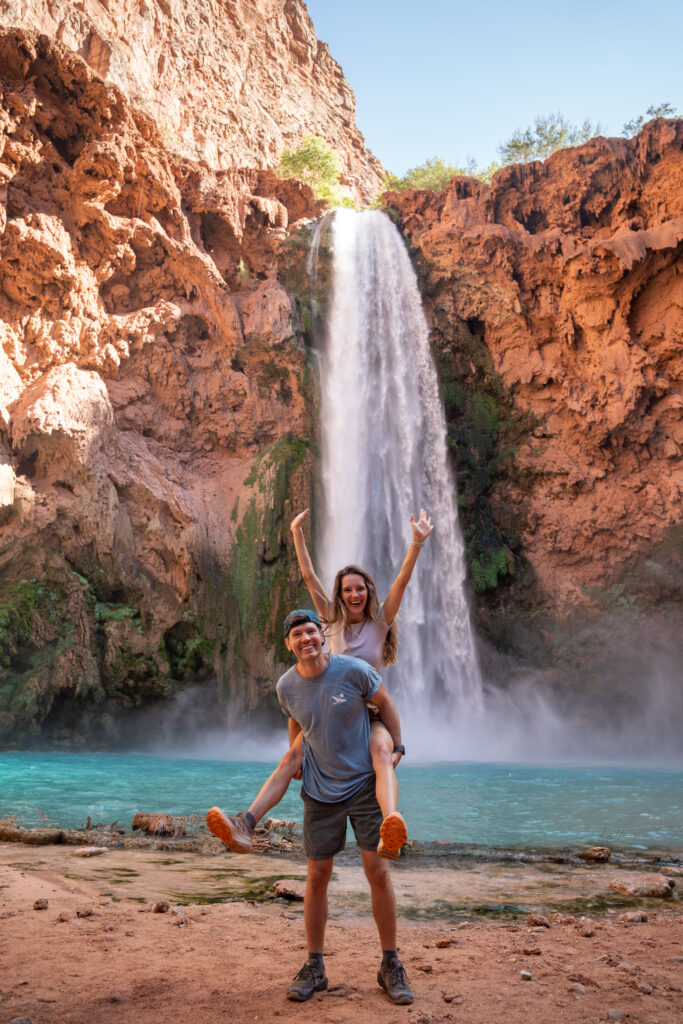
The bright blue water of Havasu Falls is truly that blue! We were constantly in awe of the stunning falls and vibrant red rock landscapes of Havasupai. To help you plan the perfect backpacking adventure, we’ve created the ultimate Havasu Falls backpacking guide—from securing permits to camping tips—to ensure you make the most of your time in Havasupai.
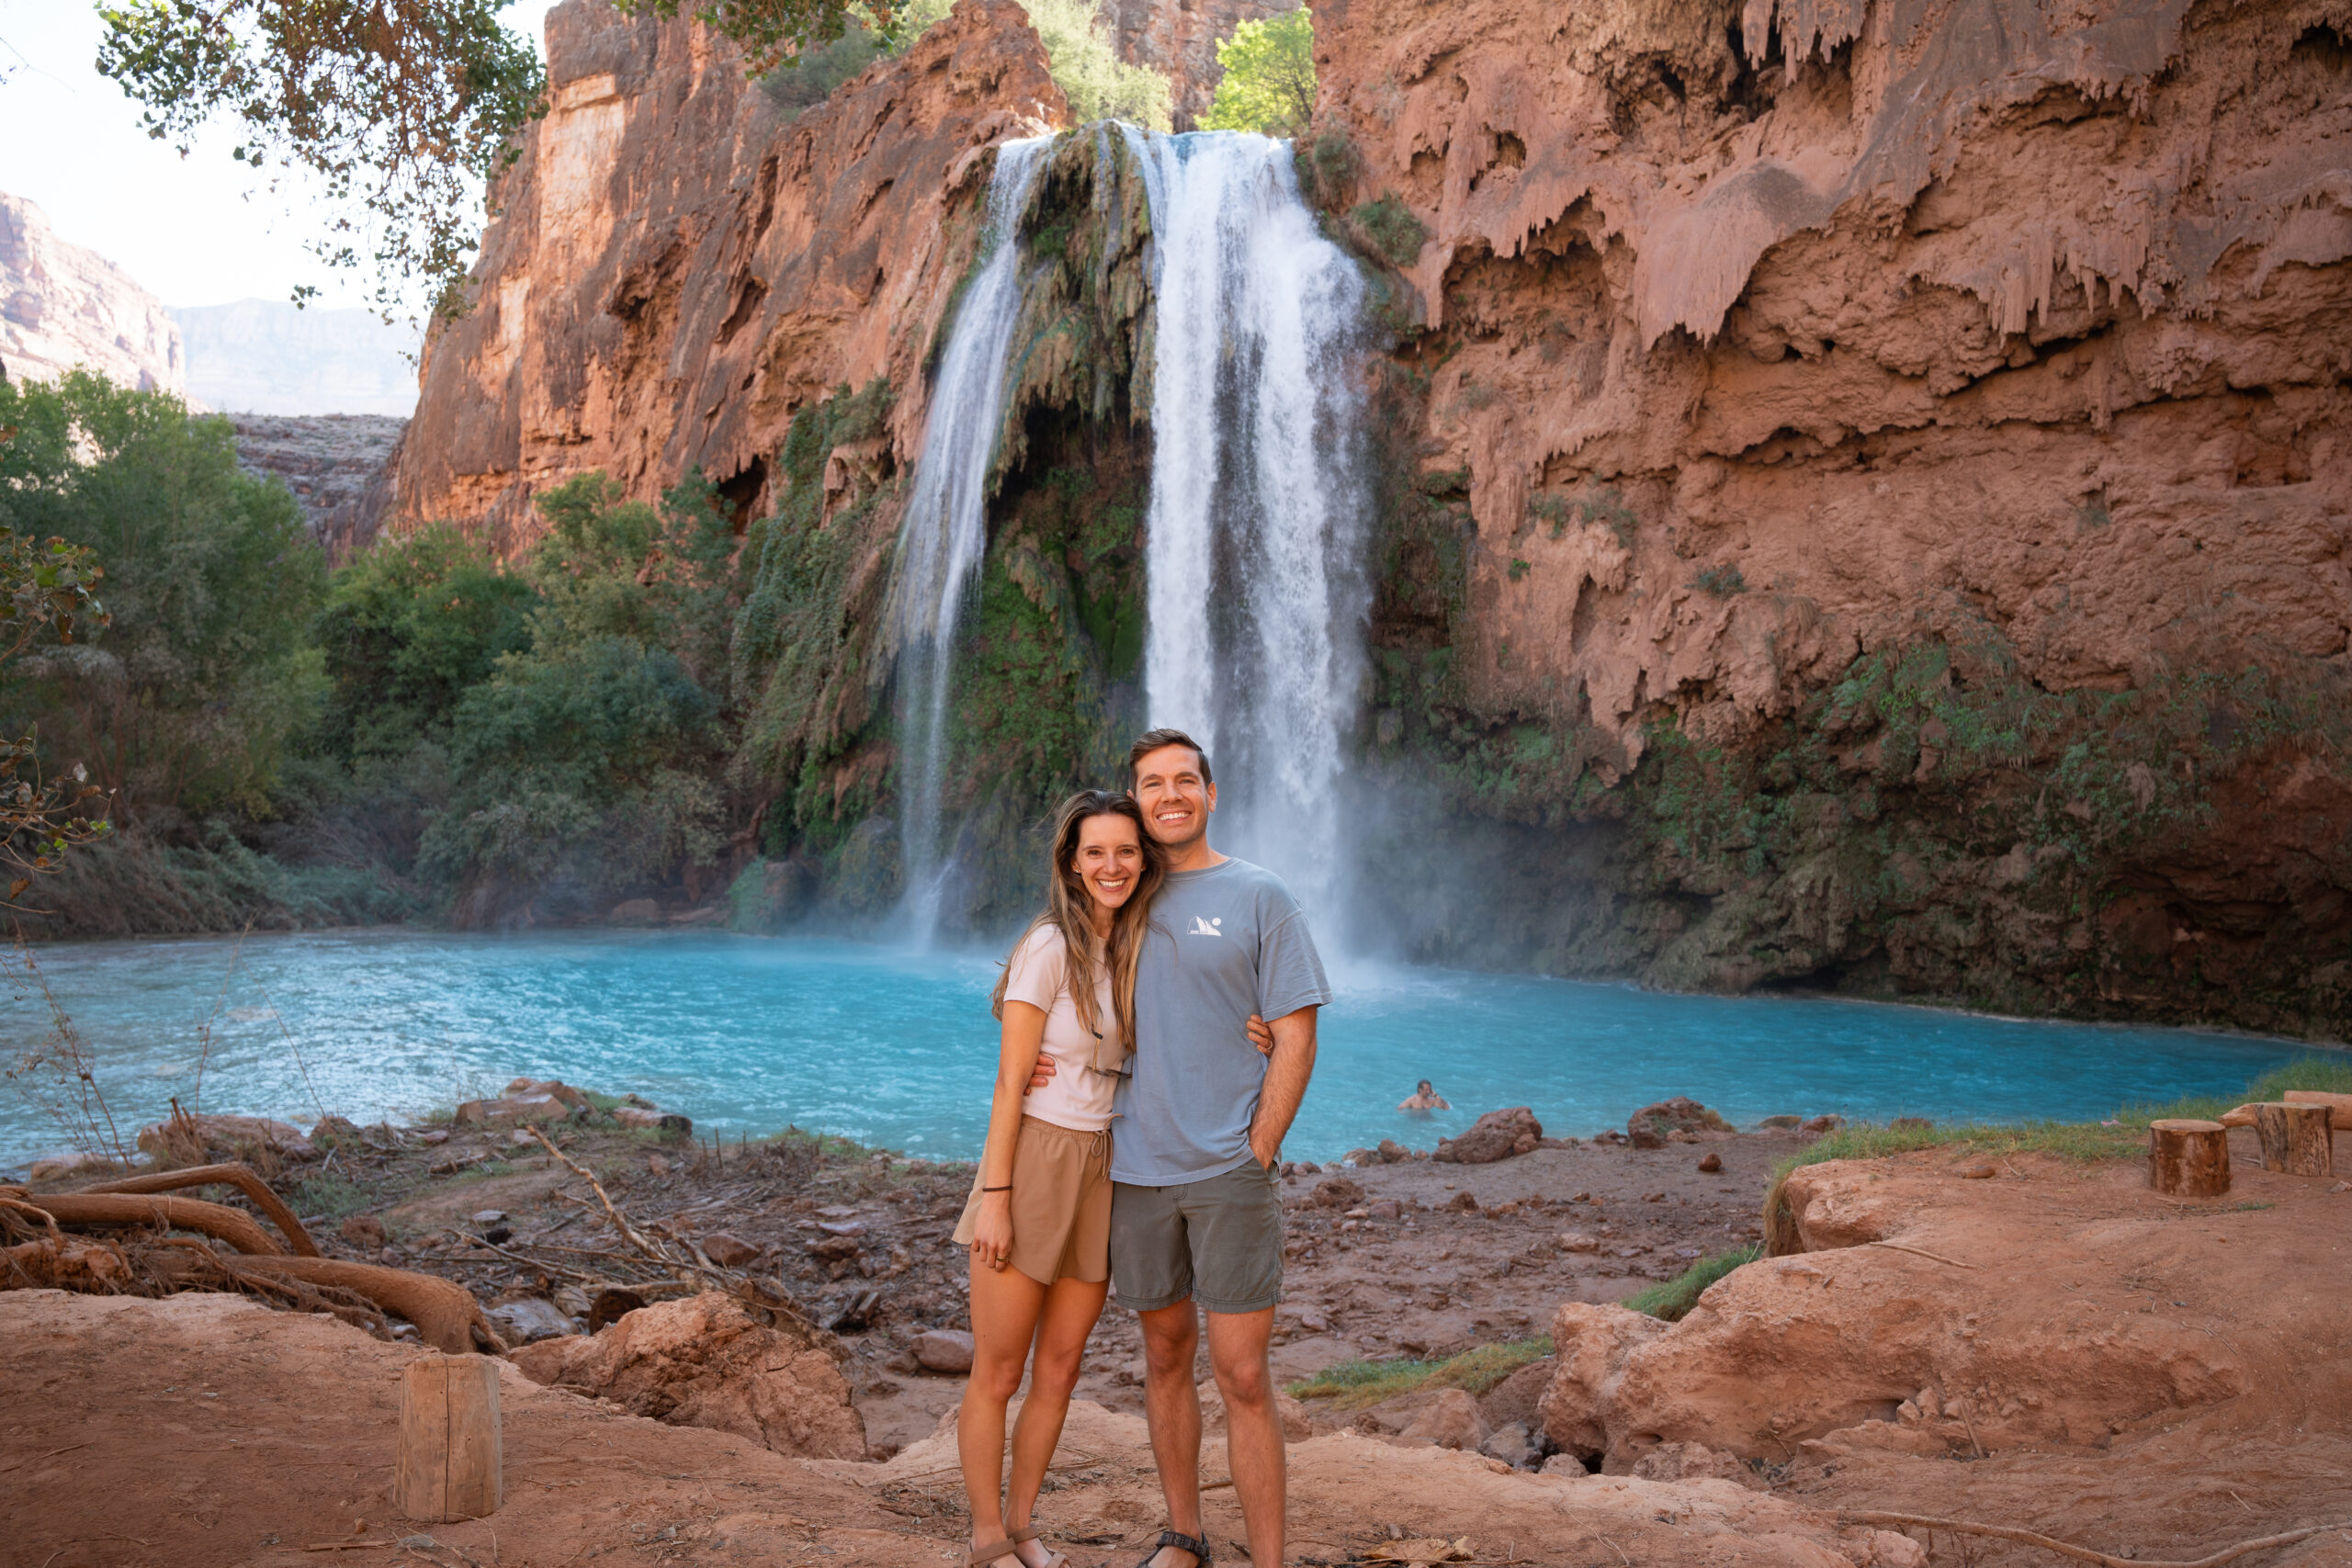
Table of Contents
Overview
- Trail Name: Havasu Falls Trail
- Trailhead Name: Havasupai Trailhead (Hualapai Hilltop Parking Lot)
- Elevation Gain: 3,664 feet
- Trail Type: Out-and-back
- Total Distance: 25 miles (from trailhead to Beaver Falls)
- Trip Length: 3 days, 2 nights (optional: 4 days, 3 nights)
- Permit Required: Yes
Best Time to Visit Havasupai
The ideal time to visit Havasupai is in the spring or fall. These seasons offer cooler hiking temperatures while still being warm enough to enjoy the water. We visited in October and found it to be the perfect time of year!
Summers in Arizona can be brutally hot, with temperatures exceeding 115°F, so it’s best to avoid those months. July to September is also monsoon season, which increases the risk of rain and flash floods. In 2024, severe flooding in August tragically resulted in the death of a hiker, and the trail was closed for a month for repairs. Be sure to check the weather forecast and plan accordingly.
Havasupai Reservations and Permits
Permits are required to hike to Havasupai, and they’ve become increasingly competitive to obtain. For the 2024 season, a limited number of permits were available for presale in January, followed by the main sale on February 1.
We missed the presale but successfully secured permits on February 1. We recommend being ready on your computer at 8 a.m. Arizona time to increase your chances. Before permits go live, create an account and input your credit card info to avoid any delays during checkout.
Camping reservations are for 4 days and 3 nights, costing $455 per person in 2024. While it’s a splurge for camping, we promise it’s worth every penny!
Important Permit Information:
- Refunds: Reservations are non-refundable and non-changeable. However, you can list your permit for transfer if you can’t go. If someone buys it, you’ll get a refund minus a 10% fee.
- Group Size: Maximum of 12 people per reservation.
- Trip Leader: The trip leader (name on the reservation) must check in with a valid photo ID.
- Alternate Trip Leader (PATL): An alternate leader can take over the reservation if the original trip leader cannot attend.
- Confirmation Code: Display the campground reservation code on your vehicle’s windshield at the trailhead.
- Wristbands: All visitors must wear a wristband throughout their stay.
- Check-in: Check in at Grand Canyon Caverns Inn, near Seligman, AZ (mile marker 115 on Route 66). The trip leader must check in with proof of ID. More info on check-in here.
Getting to the Trailhead
The trailhead is located at Hualapai Hilltop parking lot at the end of Indian Road 18. From Route 66, it’s about a 45-minute drive. Make sure to fill up on gas and bring plenty of water, as there are no services along this road.
Where to Stay Before the Hike:
- If coming from San Diego or LA, we stayed overnight in Kingman, AZ, which is about 2 hours and 15 minutes from the trailhead.
- If coming from Phoenix, we recommend staying in Flagstaff.
Campground Guide
Where to Camp:
There are no designated campsites; all are first-come, first-served. We recommend camping across the river from the main trail for a quieter experience with easy river access. The best camp spots are further down the trail, closer to restroom two and three. Some spots may not have tables, so be prepared to get creative with logs!
Drinking Water:
There’s a freshwater spring with a spigot in the middle of the campground. The water is safe to drink and doesn’t require filtering.
Bathrooms:
Three well-maintained compost toilets are spread throughout the campground.
Wildlife:
Mice and squirrels are common in the campground and will try to get into your food and trash. Store food in bags and hang them from trees. Many campsites already have lines in place, but bringing your own zipline is a good idea.
Leave No Trace:
Please follow Leave No Trace principles and pack out all trash. We saw a lot of litter during our visit, so let’s all do our part to keep Havasupai clean!

Havasupai Itinerary
Although your permit covers 4 days and 3 nights, we opted for a 2-night stay and felt that was enough time to explore. However, if you have more time, staying the full 3 nights would give you more flexibility.
Day 1: Hike to Havasupai Falls Campground (10 miles total)
We checked in at Grand Canyon Caverns early and picked up our wristbands and tent tags before driving 1 hour to the trailhead.
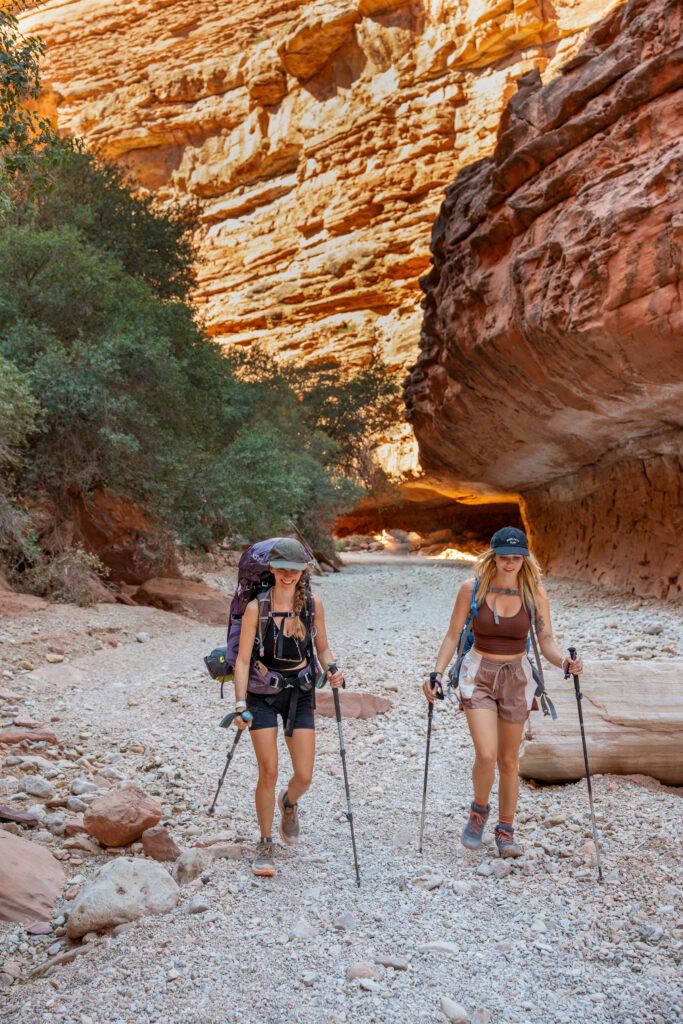
The hike begins with steep switchbacks descending into the canyon and then levels out for a relatively easy walk to Supai Village (8 miles). From the village, it’s another 2 miles to the campground. The hike took us about 4-6 hours. Be sure to bring plenty of water, as there’s nowhere to refill until the campground.

Day 2: Hike to Havasu Fall, Mooney Falls and Beaver Falls (5 miles total)
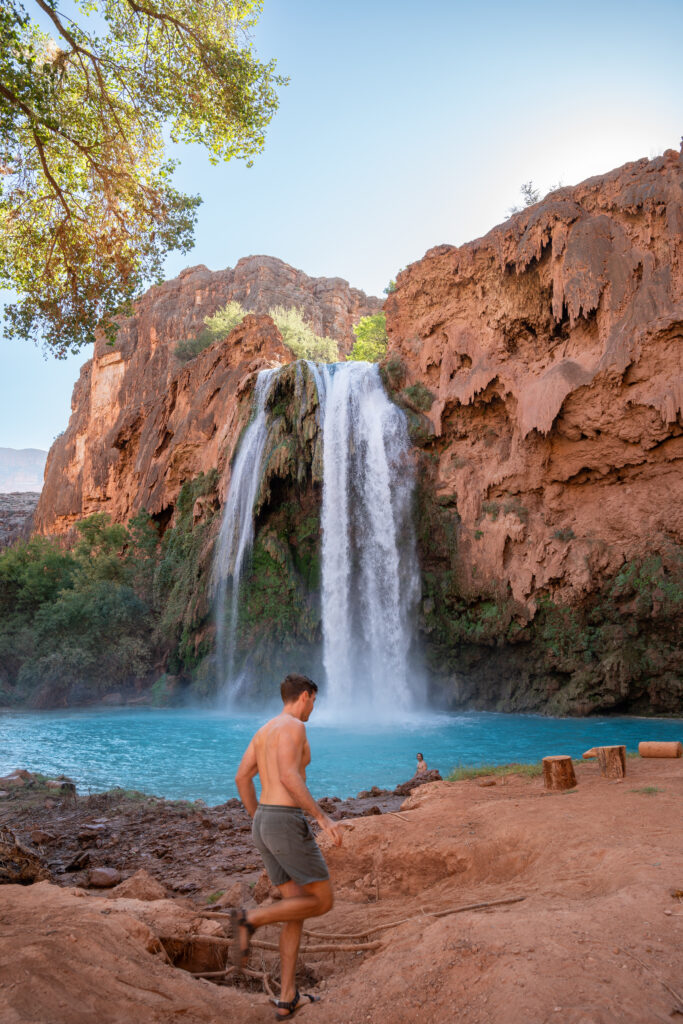
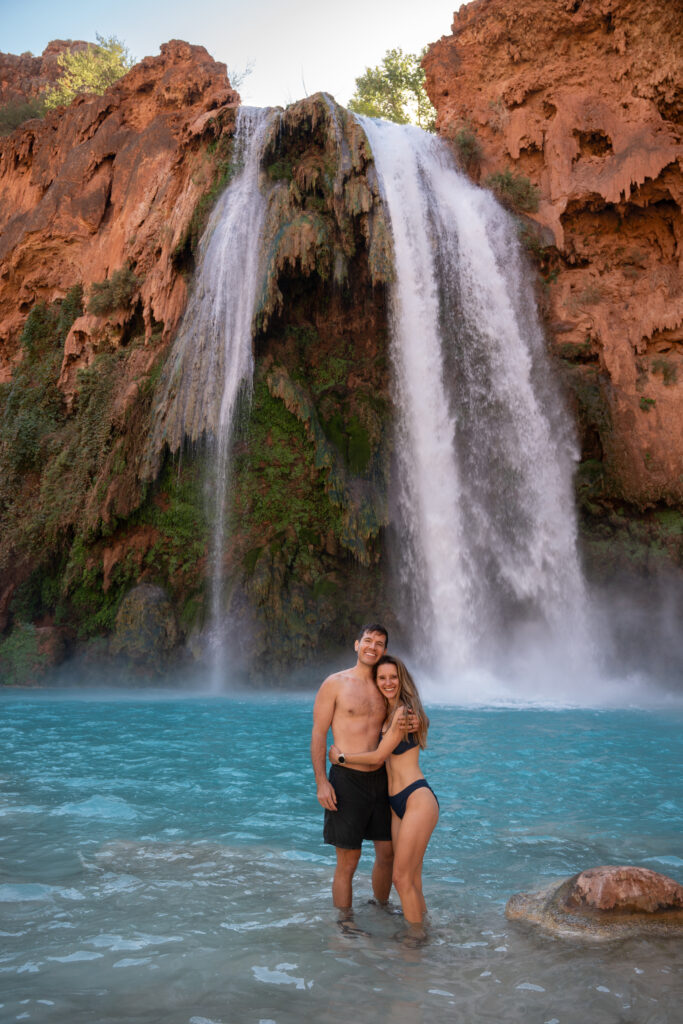
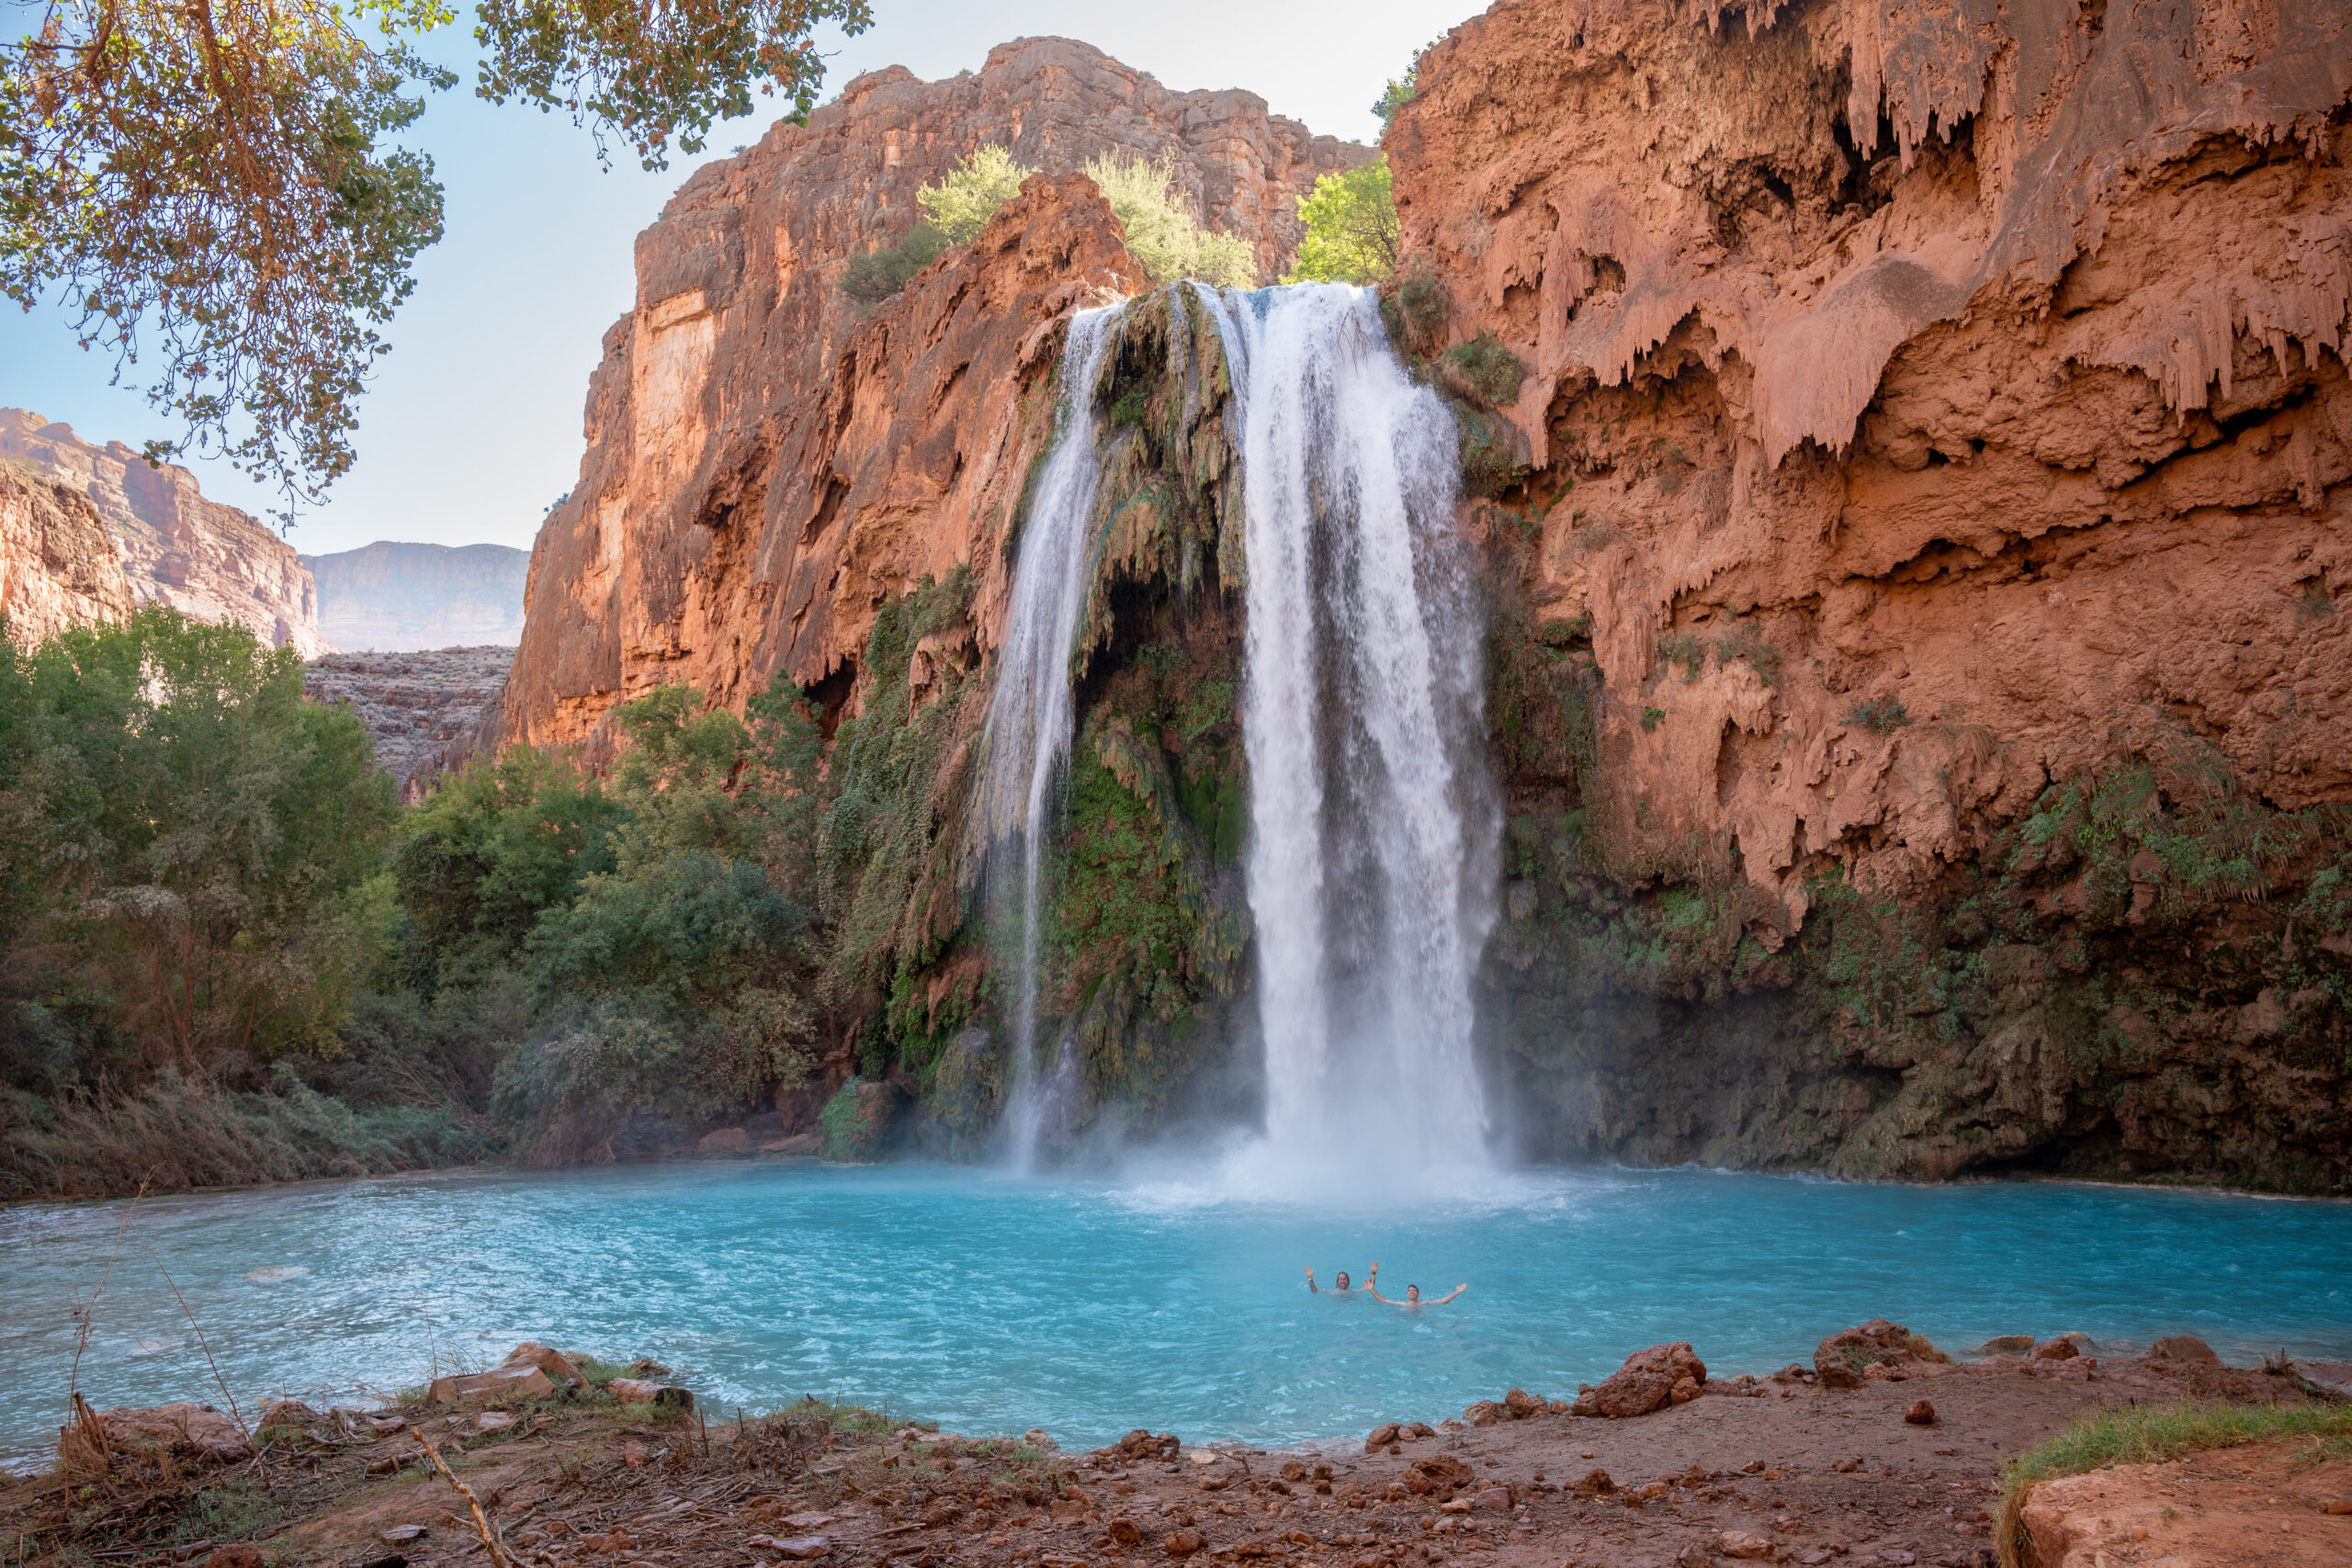
Start the day with a refreshing dip in Havasu Falls. It’s especially picturesque in the morning, when the bright turquoise water contrasts beautifully with the red rocks, and you’ll have fewer people around for photos.
Next, hike to Mooney Falls, just a half-mile from camp. The descent to the base of Mooney involves chains and ladders, so it’s not for the faint of heart! Gloves are recommended (there’s usually a pile of extras at the top). Those with a fear of heights might want to skip this part.

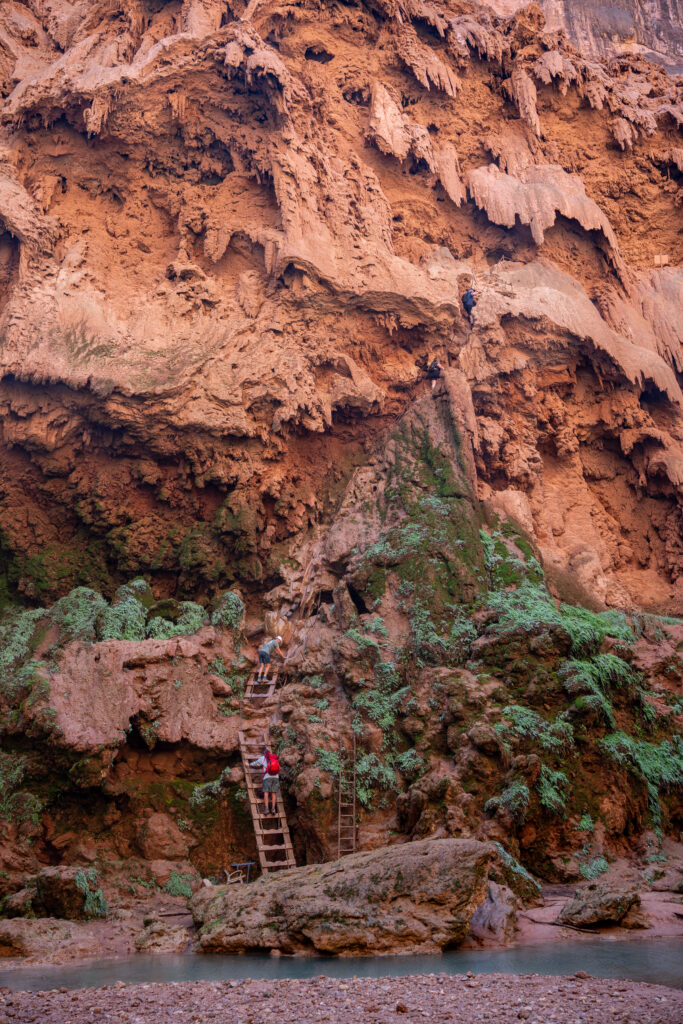
From Mooney Falls, it’s a 2-mile trek to Beaver Falls through a lush valley with three river crossings. The water can be thigh-high, so bring water shoes like Tevas. Beaver Falls is a series of cascades, perfect for a swim and lunch break before heading back to camp.
We ended the day with delicious frybread from a stand near Havasu Falls—don’t forget to bring cash!


Day 3: Hike Back to the Trailhead (10 miles total)
We woke up at 4 a.m. to begin our hike out, aiming to avoid the midday heat. The ascent back up the switchbacks can be tough, so stay hydrated and take breaks as needed!
Check out the All Trails hike here.
This guide should have you well-prepared for an amazing trip to Havasu Falls. Happy hiking, and enjoy the adventure of a lifetime!
